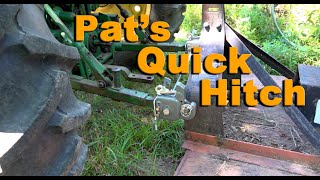
A hands-on installation walkthrough for the Pat's Quick Hitch, filmed at the tractor while the owner does the job. Covers category sizing (Cat 1, 2, 3 and mixed combos), required tools, shimming the lift arms, roll pins, washers, U-bolt jam-nut technique, and using a spreader bar to set implement width. Practical depth makes it useful for anyone about to install this specific hitch for the first time.
What this video covers
Installation takes about 20 minutes once lift arms are sized right
Choose category size matching tractor and implements, like 2:1 or 1:2
Requires a 9/16 ratchet, hammer, and a straight bar for alignment
Shim the lift arms and install roll pin to remove wobble
Jam two nuts on U-bolt to lock in vertical stabilization
Use spreader bar to set correct implement width before hookup
Questions this video answers
What tools do you need to install a Pat's Quick Hitch?
You need a 9/16 ratchet, a hammer, and a straight bar like a broom handle or pry bar to help align the lift arms during installation.
How do you choose the right size Pat's Quick Hitch for your tractor?
Match your tractor's lift arm category to your implement category, such as a 2:1 for a Category 2 tractor with Category 1 implements, or 1:2, 1:1, 2:2, 2:3.
How do you stabilize the Pat's Quick Hitch so it does not move?
Install a U-bolt and jam two nuts together on the bottom for vertical stabilization, then add screws on the other side for horizontal stabilization using a bar to keep them square.
How do you set implement width using the Pat's Quick Hitch spreader bar?
Measure across the back to match your implements, about 30 inches in this case, mark the bar, then back up so it pops into the pins and remove the spreader bar after hookup.